Showing posts with label closet. Show all posts

Monday, September 10, 2012

DIY Ohio State Buckeyes Racerback Tank

My husband loves to go to a local bar every Saturday to watch his beloved Buckeyes play and I love to go with him. The bar we go to is FULL of other Ohio State fans. Of course, everyone is dressed head to toe in their scarlet and grey. This left me feeling the need to "blend in". Those of you who know me personally already know that I refuse to pay $30 for a shirt just because it has a team name on it. Here's my solution.


You Will Need:
- T-shirt (I found a boy's t-shirt at a thrift shop)
- Pair of scissors

How To:

1. Cut away the neck, cut off the sleeves, and trim off the seams at the bottom. For the sleeves, start at the shoulder (you decide how thick you want the strap to be) and cut straight into the chest area. Then curve. If you curve the whole way, it’s gonna look weird on.
2. Cut the back of the shirt into a racerback shape. Cut a deep V shape into the racerback.
3. Take the bottom edge of the shirt that you cut off and cut the seams off so that you’re just left with fabric.
4. Stretch it out.
5. About an inch or two above the bottom of the V tie a knot with one edge of the string.
6. Wind it around and around, then double knot it at the other end too. Cut off loose ends.

That's it!

If you want to, you can pull at the fabric to make rough edges go curly and to make your tank longer.

Saturday, June 16, 2012

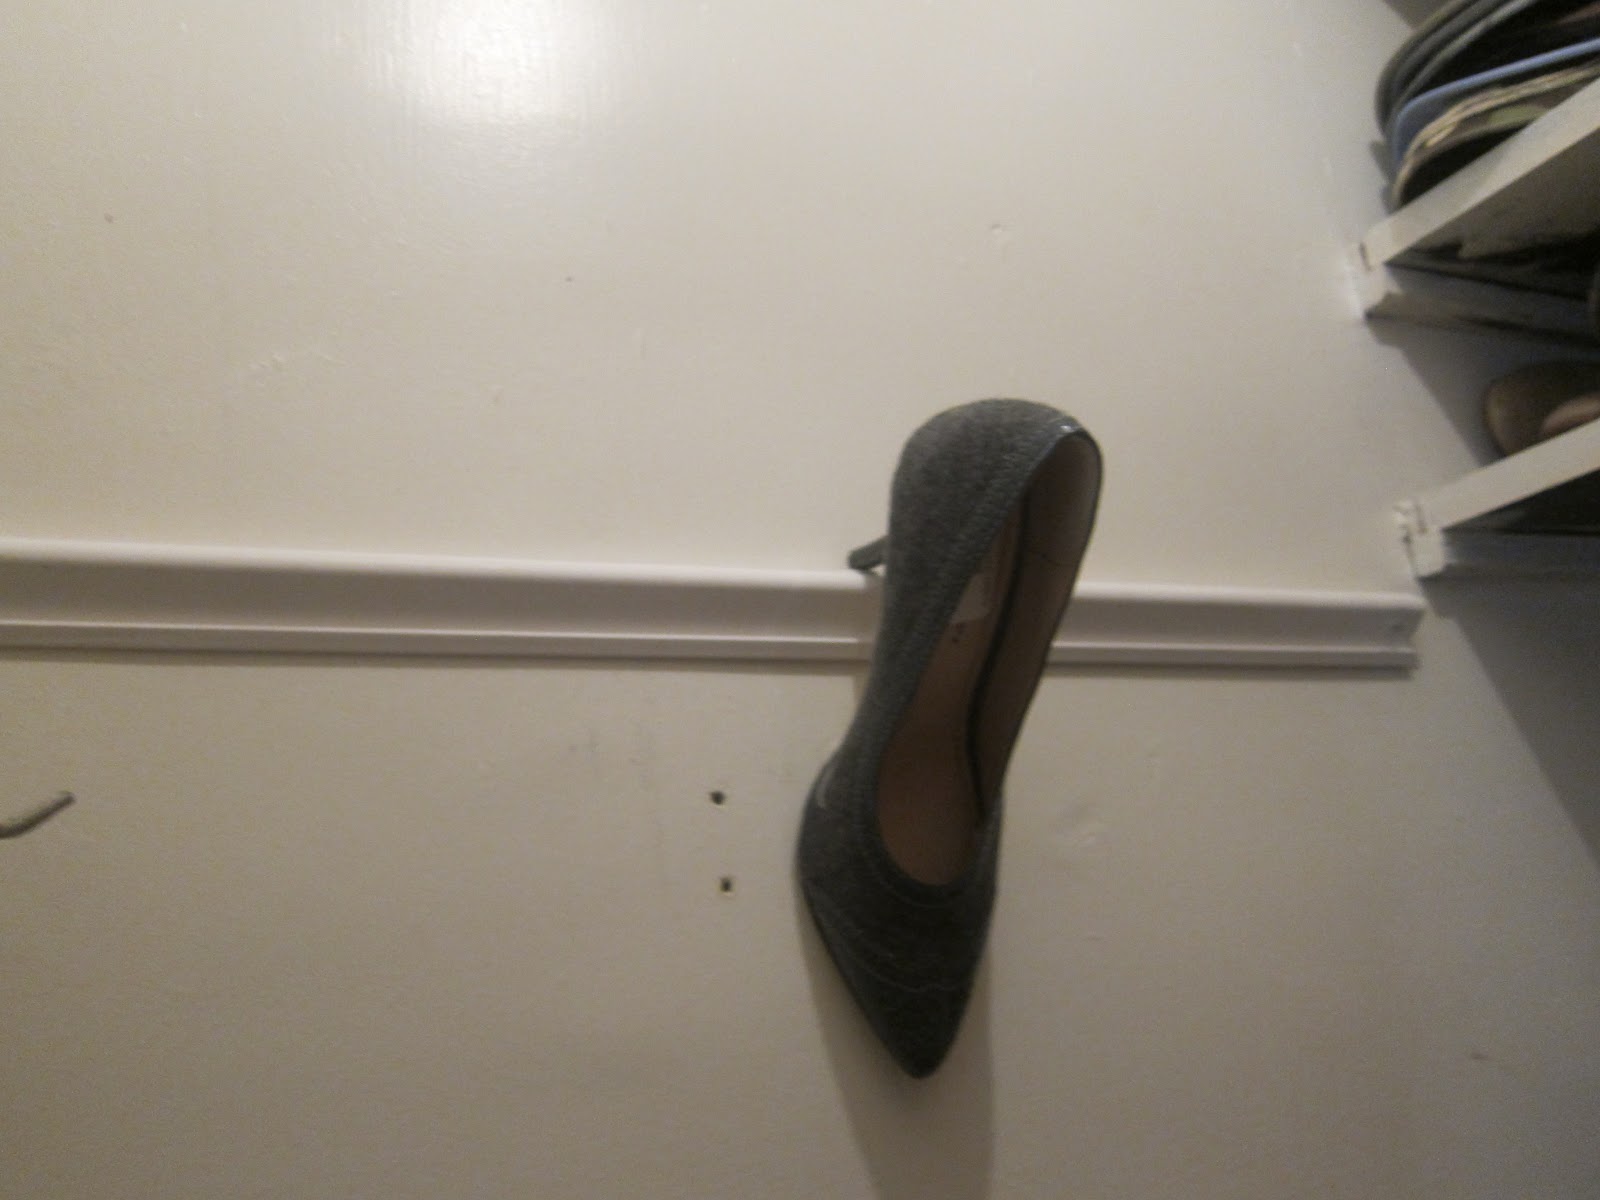
Girly Project: High Heel Hideaway!

This was such a simple & fun little project! Today, a friend and I decided to create a little more storage for my ridiculous collection of shoes (which i previously had piled in a giant metal tub in a corner).  This was a great idea, very inexpensive, and simple!


First, we measured the space in my closet to find out how long each heel holder could be. I have about 27" free on the side wall, so we decided to go with 25" holders with 1 free inch on each side. I have pretty small feet but we decided to make the rows about 10" apart since my house is a rental (in case the person who comes after me has bigger heels). 


Second, we went on a field trip to Home Depot for supplies. 


They have a little station set up where you can measure the wood & cut it to the size you need right there in the store. If your store is anything like mine, you will attract a crowd of menfolk when you walk down the aisle and they will all be eager to help you with anything you need. We thought it would be fun to do it ourselves but we definitely could've gotten out of there without cutting anything if we wanted to.


We found the molding I liked, measured it and sawed it into 25" sections. I bought 5 pieces but only ended up needing 3. 


We also bought some nice looking nails and a sanding block to smooth the edges of the molding where I had sawed them. 

My grand total for all the supplies was $12.58. The 5 pieces of molding were only $8.30, so it could've been an $8.00 project if I didn't need the nails and sanding block


 When we got home, we just put a nail into the end of each piece and a nail in the middle (and made sure they were level and 10" apart) and we were done! Simple, cute, and fun! 


Even the cat had fun playing in my old shoe holder!